View all Vehicles
-
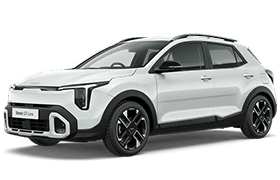
 EV3
From $55,520
+ on road costs
EV3
From $55,520
+ on road costs
-
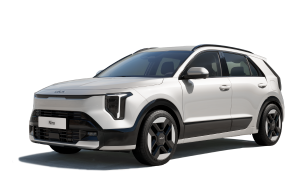
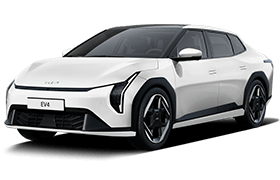 EV4
From $63,990
+ on road costs
EV4
From $63,990
+ on road costs
-
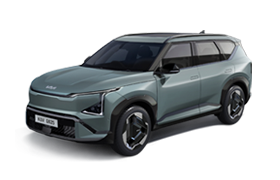 EV5
From $67,990
+ on road costs
EV5
From $67,990
+ on road costs
-
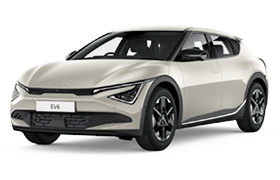 EV6
From $83,070
+ on road costs
EV6
From $83,070
+ on road costs
-
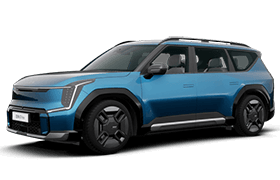 EV9
From $110,790
+ on road costs
EV9
From $110,790
+ on road costs
-
 Picanto
From $24,490
+ on road costs
Picanto
From $24,490
+ on road costs
-
 Stonic
From $29,990
+ on road costs
Stonic
From $29,990
+ on road costs
-
 Niro
From $43,990
+ on road costs
Niro
From $43,990
+ on road costs
-
 Seltos
From $33,990
+ on road costs
Seltos
From $33,990
+ on road costs
-
 Sportage
From $49,990
+ on road costs
Sportage
From $49,990
+ on road costs
-
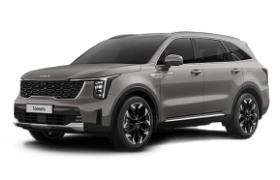 Sorento
From $66,490
+ on road costs
Sorento
From $66,490
+ on road costs
-
 Carnival
From $68,990
+ on road costs
Carnival
From $68,990
+ on road costs
-
 Tasman
From $43,690
+ on road costs
Tasman
From $43,690
+ on road costs
-
 PV5
From $64,990
+ on road costs
PV5
From $64,990
+ on road costs


